Open Source Servo Control Software for the PSC
by the CrustCrawler Automation Team
- .NET Framework 2.0
- Windows XP
- 1M free space
- Serial port or USB port
- PSC (Parallax Servo Controller)
|
|
|
|
|
|
CrustCrawler’s “Open Source Servo Control Software for the PSC” is a FREE plug n’ play, point and click Windows form application written in VB.NET. The CPSCI application provides an easy to use interface for issuing commands to the Parallax Servo Controller. CrustCrawler provides the application in two formats a stand alone executable and various source files. If you're the
plug n' play type, simply download and run the executable version.
Coders, we provided the source files! If you enhance the application, we ask that you share your work with the community. |
|
|
Getting Started |
Connecting you computer to the PSC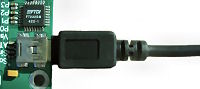
Download and run the FTDI driver. The driver installs software so your computer can communicate with the PSC. Next, connect the PSC to your computer with the supplied USB cable. The first time you attach a PSC to your computer, the new hardware wizard will find and install a new serial port.
Notice the red LED on the PSC. This lets you know that the electronics have power. The PSC also has a green LED which flashes when the PSC receives
serial signals from your computer. |
Starting the CPSCI.exe Application
Download the executable (CPSCI.exe). With the PSC connected to your computer, run (double click) CPSCI.exe. You should see a Windows open that looks similar to the one below. |
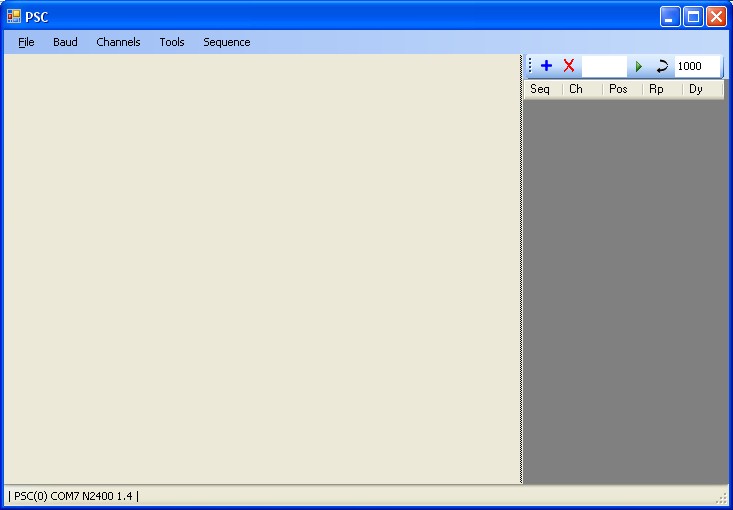 |
| Notice that the status bar displays | PSC(0) COM7 N2400 1.4 |. This verifies that you computer is connected to PSC 0 on COM Port 7 at 2400 baud (the N means parity = None). The last number is the PSC's firmware version. If you see "PSC Not Found!", check your connections. |
Opening a PSC Channel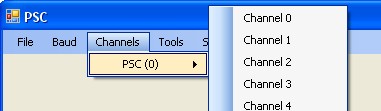
From the channel drop down, select Channel 0. A new channel control is immediately added to your project. The channel control provides direct access to the servo attached to Channel 0. To move the channel control on the screen, click and hold the left mouse button to the right of the grouping icon then drag the channel control to a new location. |
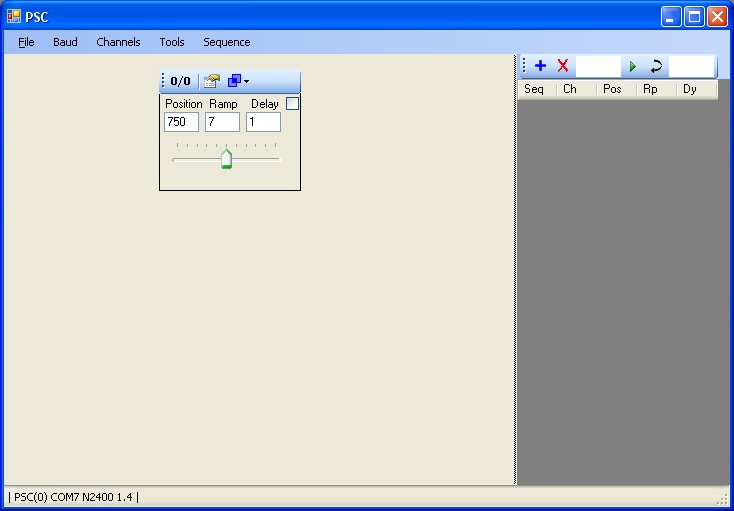 |
| Channel icons and controls |
 |
PSC number/channel number |
 |
Properties |
 |
Grouping |
| Position |
Configurable integer values that range from 250 to 1250 |
| Ramp |
Rotation speed 0-63 |
| Delay |
0-255 ms delay |
 |
Toggles real time channel control |
 |
Use the slider to adjust servo position |
|
Now that you have channel 0 added to your project, move the slider, then let go of the mouse button. When the mouse button is release, the servo connected to channel 0 will move . If nothing happens, make sure that you have a servo connected to channel 0. The negative (black) wire faces to the outside of the PSC.
For real time control, place a checkmark in the checkbox next to Delay. Now the servo moves as the slider is moved. Watch the green LED on the PSC!
Real time mode sends tons of data to the PSC. Later, when you start grouping channels, real time mode could cause unwanted servo hesitation. |
Remove Channel 0
Click the channel drop down menu and uncheck channel 0 |
| Next create a single channel sequence >>> |